Facebook is a great way to keep up with family and friends. But if you have never checked your privacy settings, strangers might be able to see more about you than you realize. Your birthday, your hometown, your photos, and even your daily activity could be visible to anyone.
The good news is that you can lock things down in about 10 minutes. This guide walks you through the most important Facebook privacy settings, step by step.
Why Privacy Settings Matter
When you first created your Facebook account, many settings were set to “Public” by default. That means anyone on the internet can see that information, not just your friends.
Scammers use public profiles to:
- Steal personal details like your birthday, phone number, or email for identity theft
- Send fake friend requests pretending to be someone you know
- Target you with scams based on information you share (your location, your interests, your daily routine)
- Create fake accounts using your name and photos
Adjusting your privacy settings makes it much harder for strangers to access your personal information.
Before You Start
Open Facebook on a computer if you can. The settings are easier to find on a big screen. If you only have a phone or tablet, the steps still work, but the menus will look slightly different.
Make sure you are logged into your account. You will know you are logged in if you see your name and profile picture at the top of the page.
Step 1: Run the Privacy Checkup Tool
Facebook has a built-in tool that walks you through your most important settings.
On a computer:
- Click your profile picture in the top right corner
- Click “Settings & Privacy”
- Click “Privacy Checkup”
On a phone or tablet:
- Tap the menu icon (three horizontal lines)
- Tap “Settings & Privacy”
- Tap “Privacy Checkup”
The Privacy Checkup covers five areas. Go through each one. It takes about three to four minutes.
Step 2: Control Who Sees Your Posts
By default, your posts might be visible to “Public” or “Friends of Friends.” Change this so only your friends can see what you share.
- Go to Settings & Privacy, then Settings
- Click “Privacy” in the left menu (or scroll to “Audience and Visibility” on mobile)
- Find “Who can see your future posts?”
- Change it to “Friends”
This only affects future posts. To change who can see your old posts:
- On the same Privacy page, find “Limit the audience for posts you’ve shared with friends of friends or Public”
- Click “Limit Past Posts”
- Confirm by clicking “Limit Past Posts” again
Now all your old posts are visible to friends only.
Step 3: Lock Down Your Profile Information
Your profile shows details like your birthday, hometown, workplace, and relationship status. Each piece of information has its own privacy setting.
- Go to your profile page (click your name at the top)
- Click “About”
- Go through each section: Contact Info, Basic Info, Places You’ve Lived, Work and Education
For each item, click the small audience icon (it might show a globe for “Public” or two people for “Friends”). Change everything to “Friends” or “Only Me.”
Our recommendations:
- Birthday: Set to “Friends” or “Only Me.” Your full birth date is a key piece of information for identity theft.
- Phone number: Set to “Only Me” or remove it entirely.
- Email address: Set to “Only Me.”
- Hometown and current city: Set to “Friends.”
- Relationship status: Your choice, but “Friends” is safer than “Public.”
Step 4: Control Who Can Find You
Strangers can search for you on Facebook using your name, email, or phone number. You can limit this.
- Go to Settings & Privacy, then Settings
- Click “Privacy”
- Find these three settings:
- “Who can look you up using the email address you provided?” Change to “Friends”
- “Who can look you up using the phone number you provided?” Change to “Friends”
- “Do you want search engines outside of Facebook to link to your profile?” Turn this Off
That last setting is important. When it is on, your Facebook profile can show up in Google search results.
Step 5: Review Your Friends List
You might have accepted friend requests from people you do not actually know. It is a good idea to review your friends list once in a while.
- Go to your profile page
- Click “Friends”
- Scroll through the list
If you see someone you do not recognize, click on their name. Look at their profile. If you do not know them, unfriend them by going to their profile, clicking the “Friends” button, and selecting “Unfriend.”
Also, hide your friends list from the public:
- On your profile, click “Friends”
- Click the pencil icon (Edit Privacy)
- Set “Who can see your friends list?” to “Only Me” or “Friends”
Scammers use public friends lists to send fake requests to the people you know.
Step 6: Turn Off Face Recognition
Facebook can recognize your face in photos. Many people prefer to turn this off.
- Go to Settings & Privacy, then Settings
- Look for “Face Recognition” or search for it in the settings search bar
- Set it to “No”
Note: Facebook has removed this feature in some regions. If you do not see it, it may already be off for your account.
Step 7: Review App Permissions
Over the years, you may have used your Facebook account to log into other websites or apps. Each of those apps may still have access to your Facebook data.
- Go to Settings & Privacy, then Settings
- Click “Apps and Websites”
- Review the list of connected apps
Remove any app you do not use or recognize. Click the app name, then click “Remove.” If you are unsure about an app, remove it. You can always reconnect it later if needed.
Step 8: Check Your Activity Log
Your activity log shows everything you have done on Facebook: posts, comments, likes, and more. Review it to make sure nothing unexpected is there.
- Go to Settings & Privacy
- Click “Activity Log”
- Browse through your recent activity
If you see posts or comments you did not make, your account may have been compromised. Change your password right away.
Bonus: Turn On Two-Factor Authentication
This is the single best thing you can do to protect your account from hackers. Two-factor authentication means that even if someone steals your password, they cannot log in without a code sent to your phone.
- Go to Settings & Privacy, then Settings
- Click “Security and Login” (or “Password and Security”)
- Find “Two-Factor Authentication”
- Click “Edit” and follow the steps
Facebook will send a code to your phone by text message each time you (or someone else) tries to log in from a new device. This adds a few seconds to your login but makes your account much harder to hack.
Quick Reference: Your New Privacy Settings
Here is a summary of what you just changed:
| Setting | Recommended Value |
|---|---|
| Who can see your future posts | Friends |
| Past posts | Limited to Friends |
| Birthday | Friends or Only Me |
| Phone number | Only Me (or removed) |
| Email address | Only Me |
| Hometown | Friends |
| Look up by email | Friends |
| Look up by phone | Friends |
| Search engine linking | Off |
| Friends list visibility | Only Me or Friends |
| Face recognition | No |
| Two-factor authentication | On |
What to Do Going Forward
- Check your settings every few months. Facebook sometimes changes privacy options when they update the app.
- Be careful with friend requests. Only accept people you know in real life.
- Think before you post. Even with good privacy settings, anything you share could be screenshot and passed along.
- Watch out for quizzes and games. Posts like “What was your first car?” or “Your street name + pet name = your celebrity name” are designed to collect answers to common security questions.
- Report suspicious messages. If someone sends you a strange link or asks for money, report the message and block the person.
The Bottom Line
You do not have to quit Facebook to stay safe. You just need to spend a few minutes adjusting your settings. Go through the steps in this guide once, and you will be in much better shape.
Set a reminder on your calendar to review these settings every three months. Facebook updates its privacy options regularly, and staying on top of them is the easiest way to keep your information safe.
Reported by David Kim with additional research from the SeniorDaily editorial team. For corrections or updates, please contact us.
Topics in this story
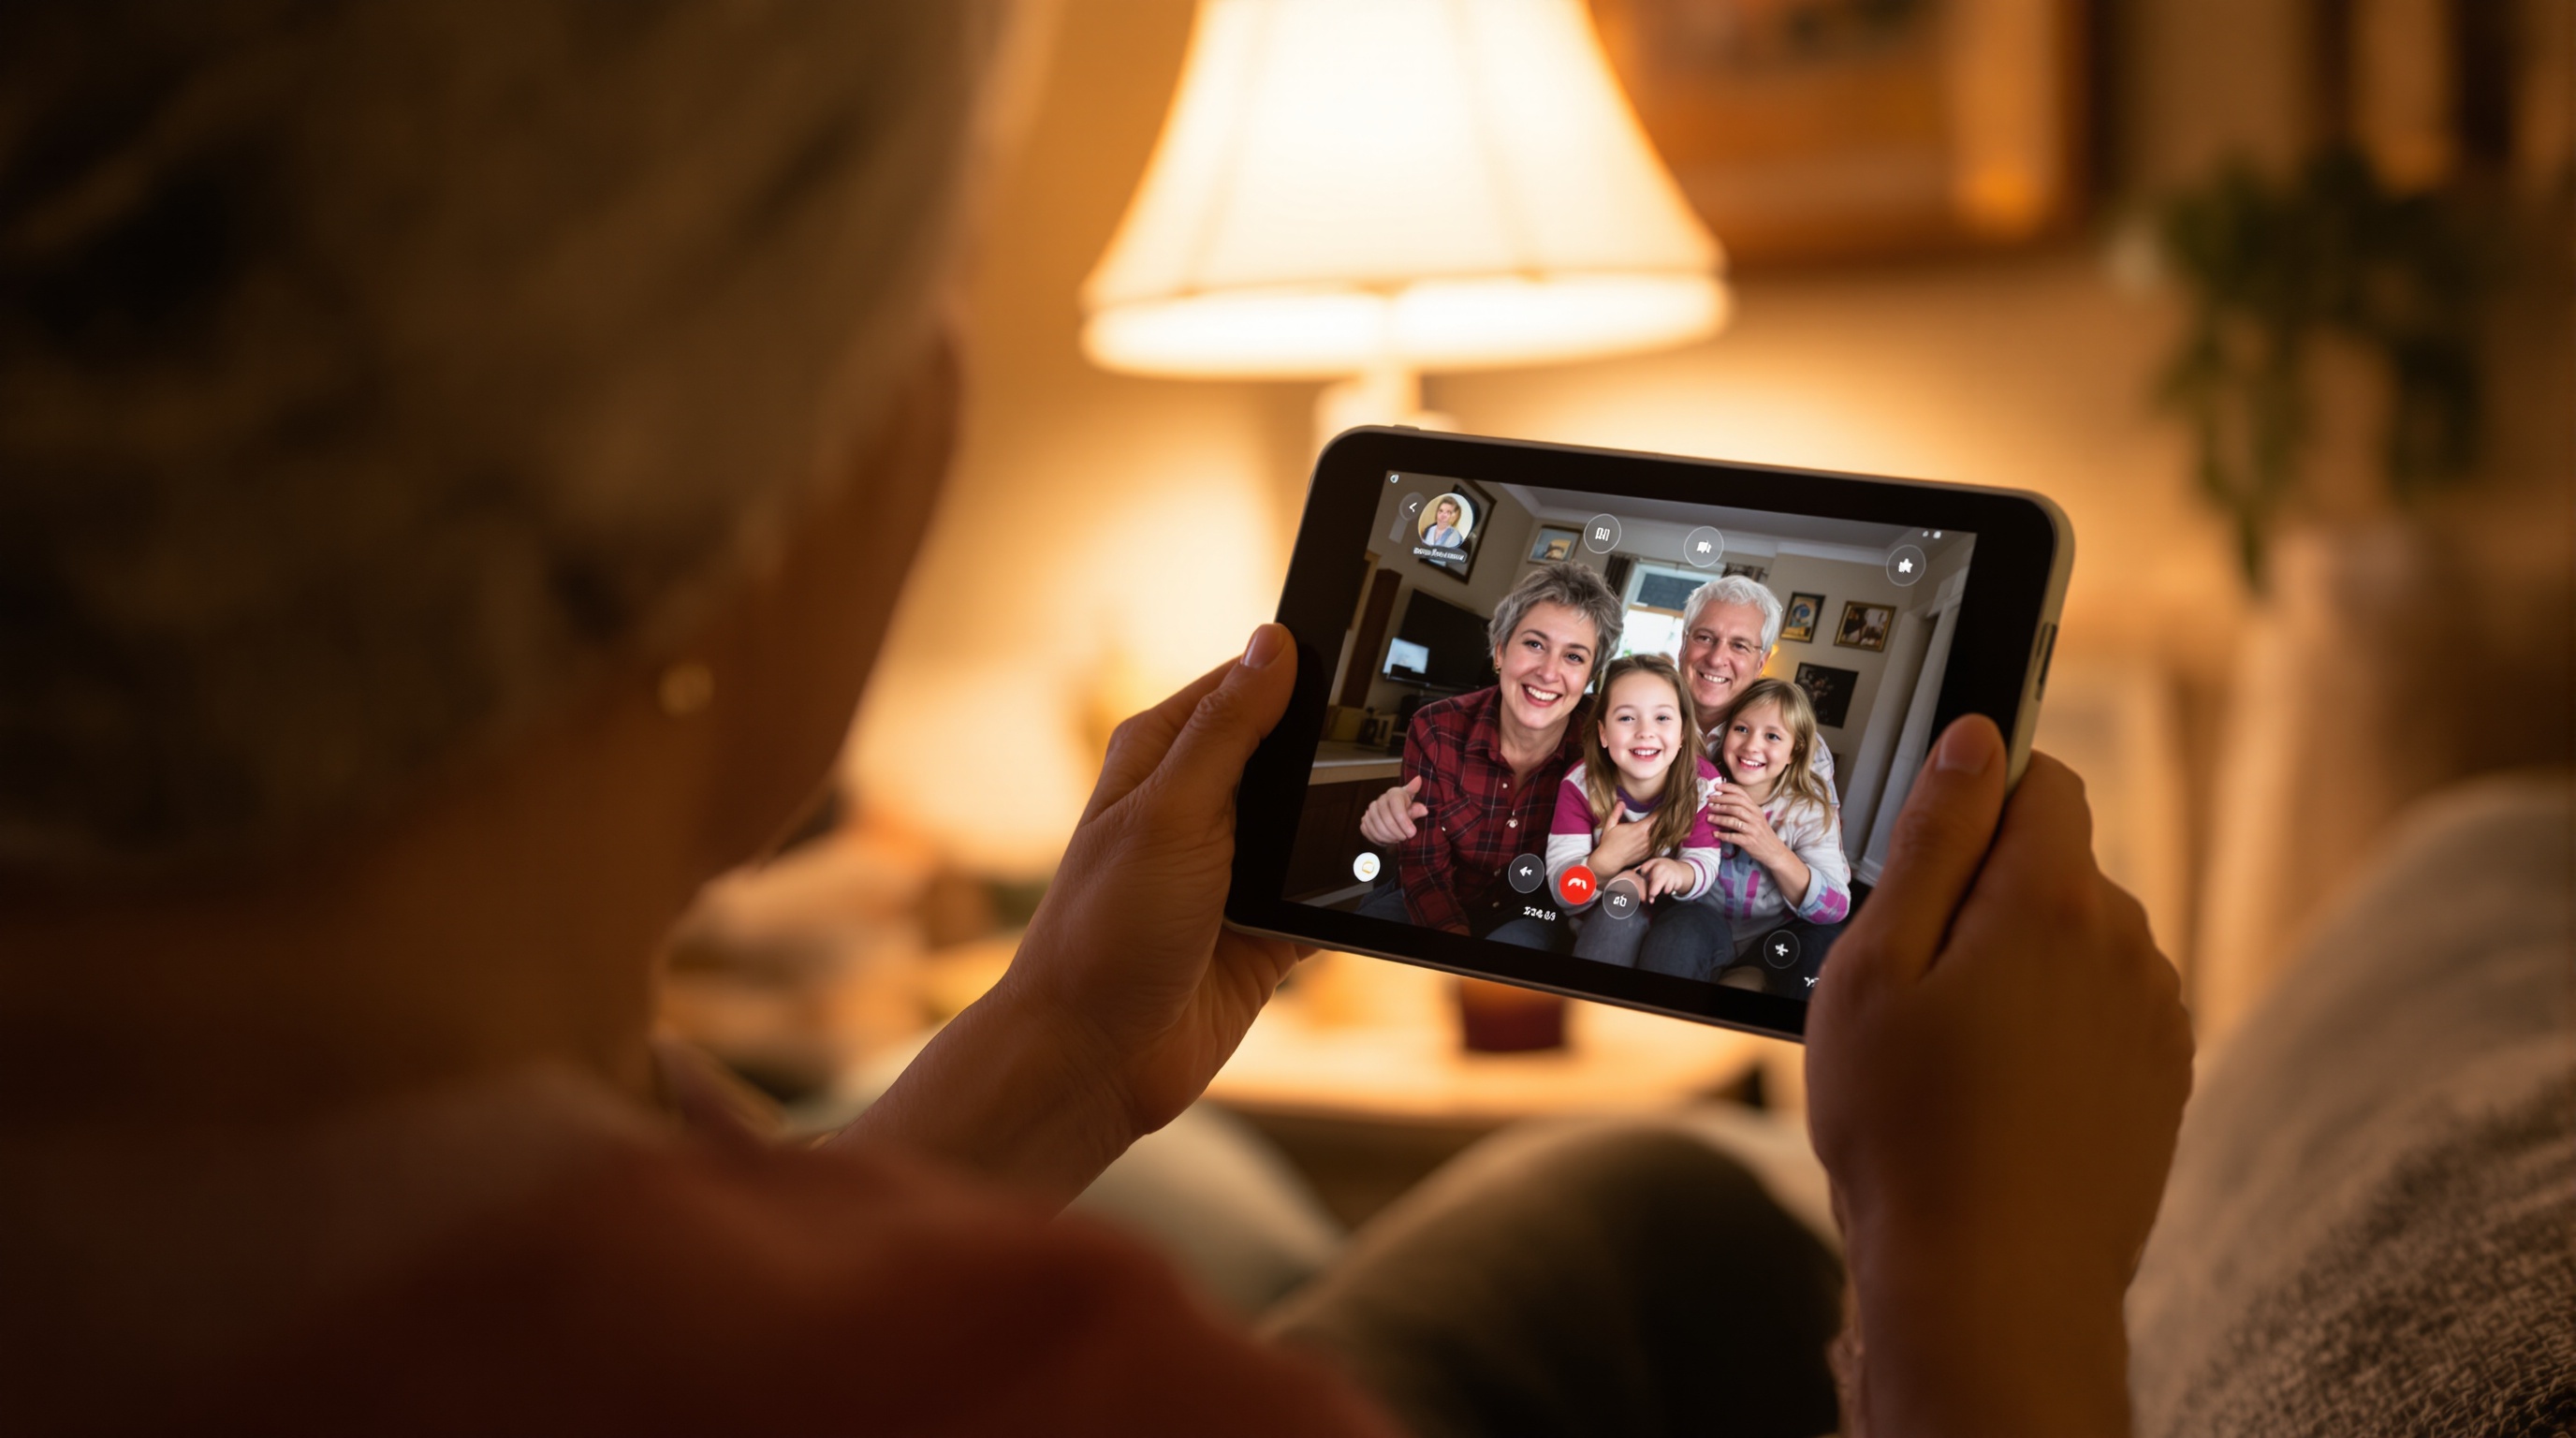
The Best Free Apps for Staying Connected with Family Across the Country
Discover the best free apps for video calls, photo sharing, and group chats so you can stay close to family no matter the distance.
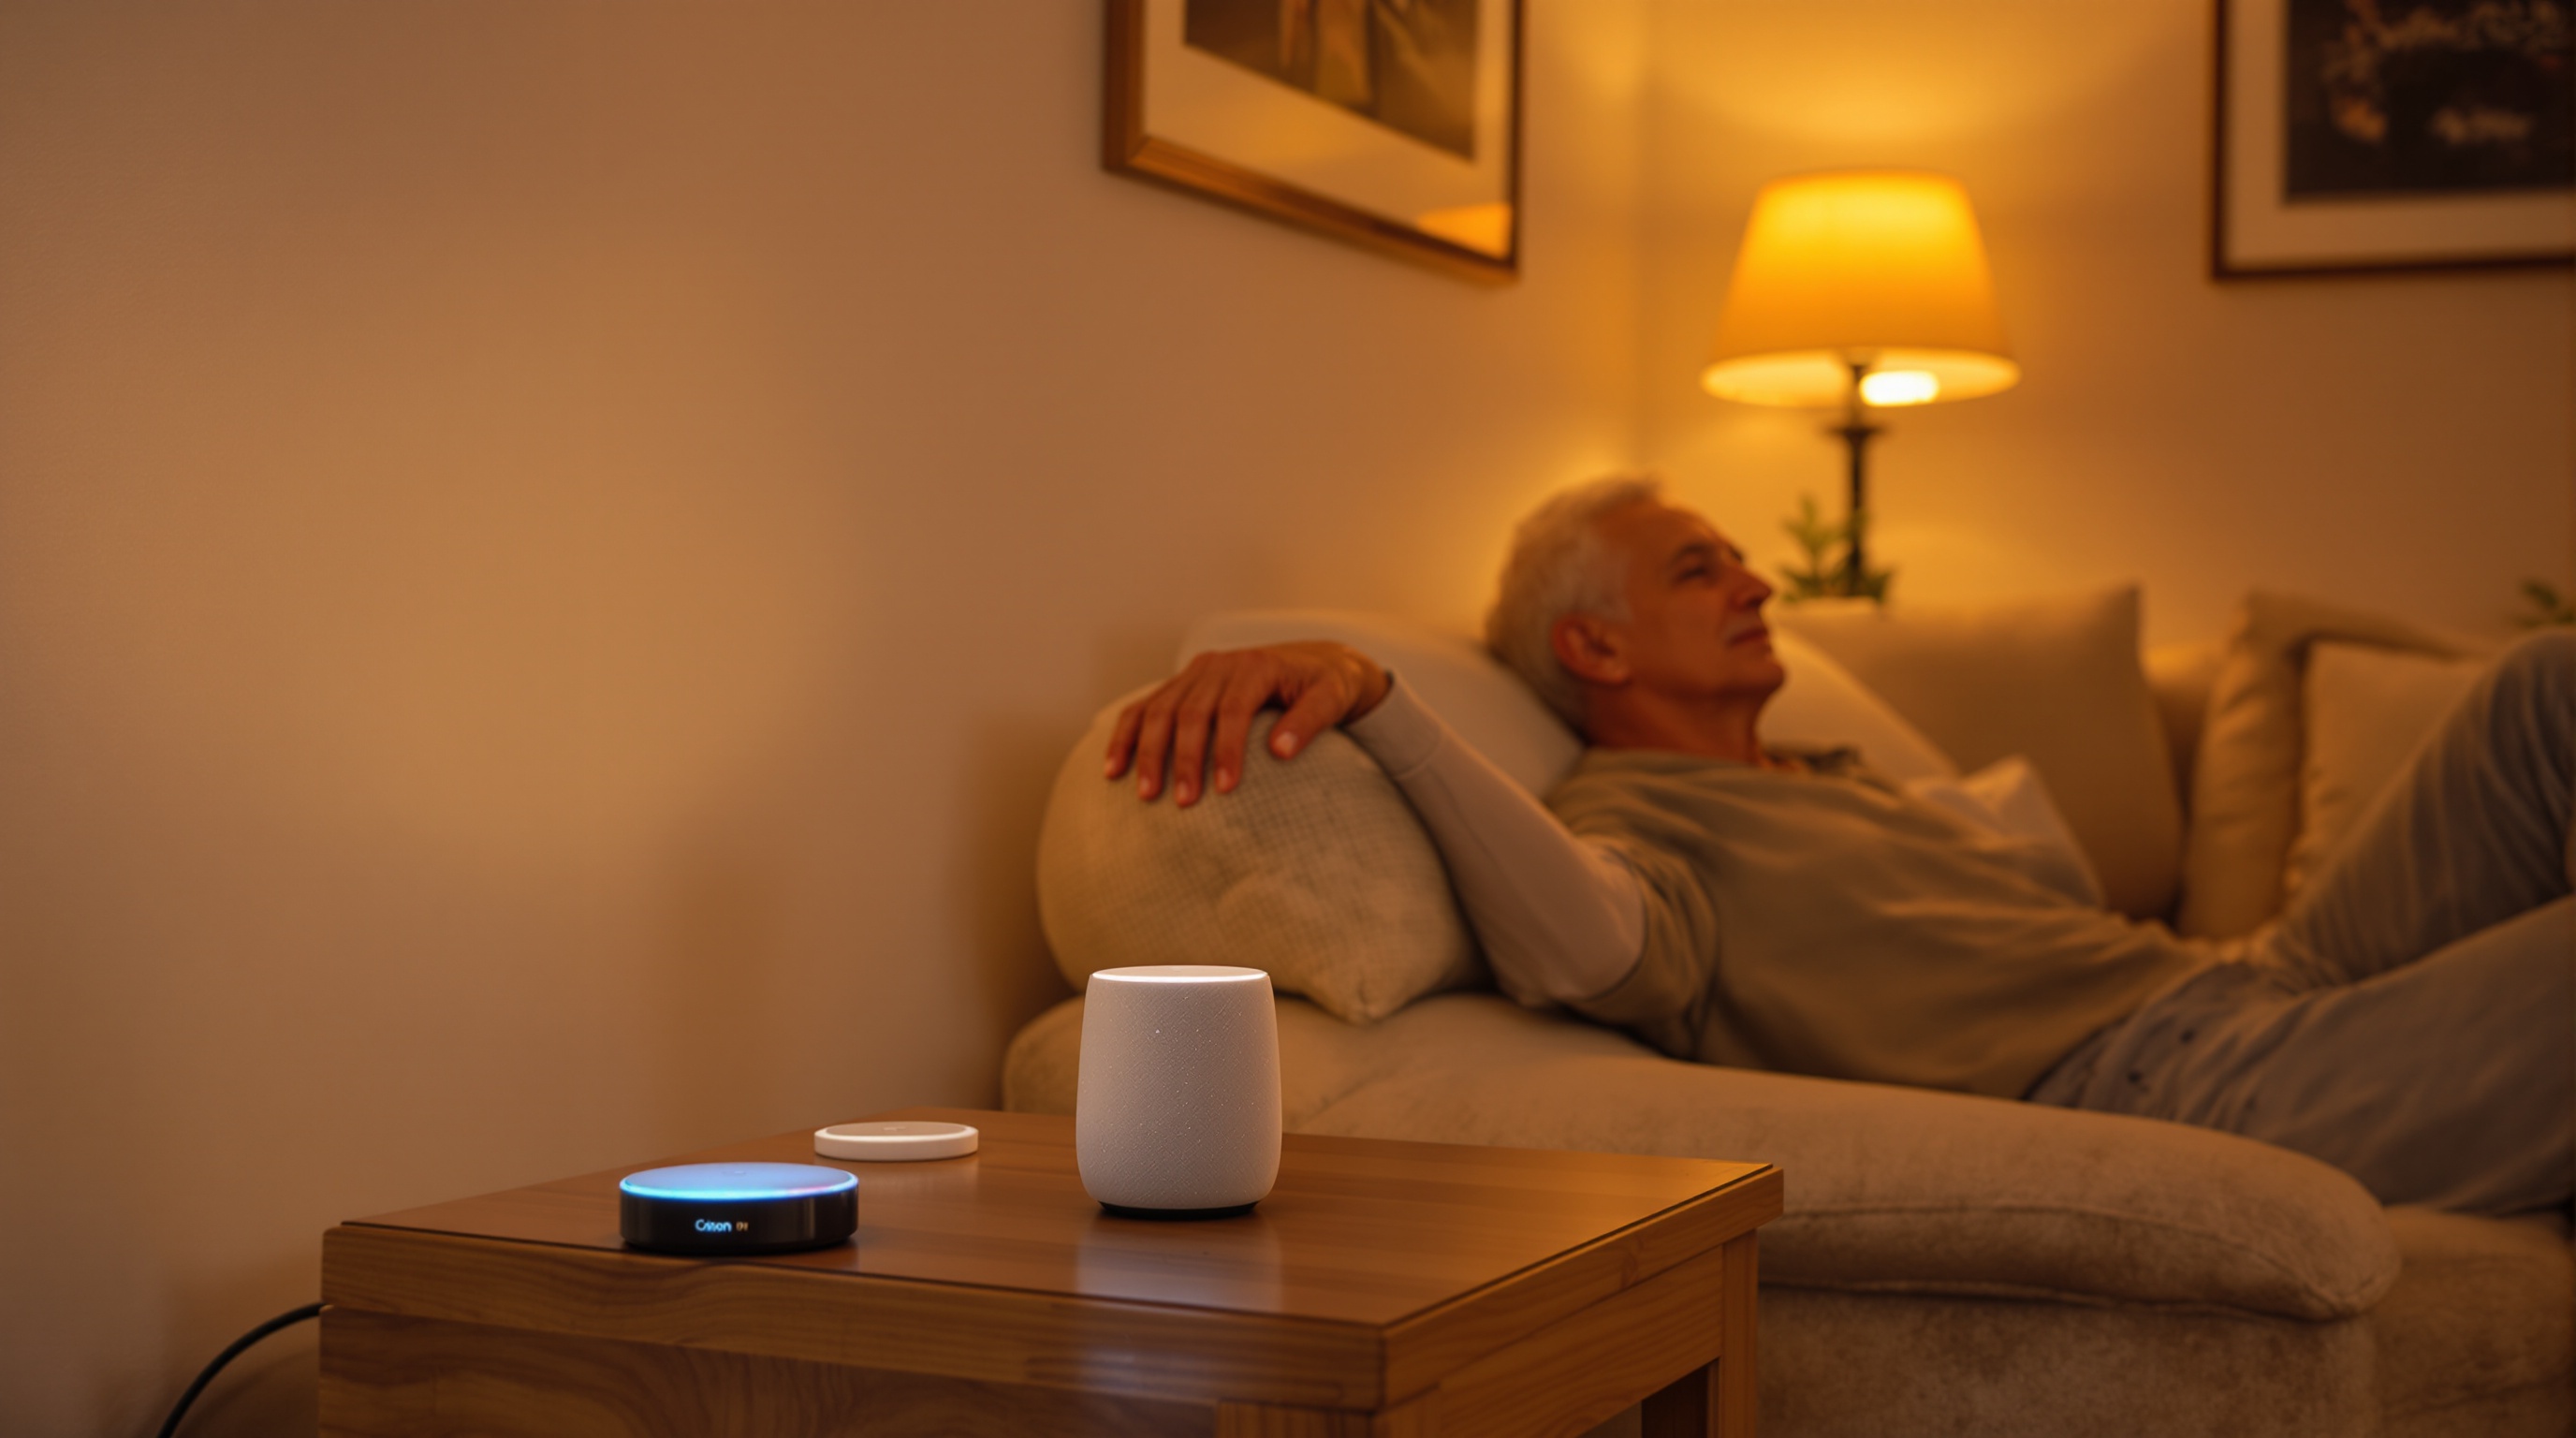
Smart Home Devices That Help Seniors Live Independently: A Beginner's Guide
Learn how smart home devices like voice assistants, smart lights, and video doorbells can help you live safely and independently at home.
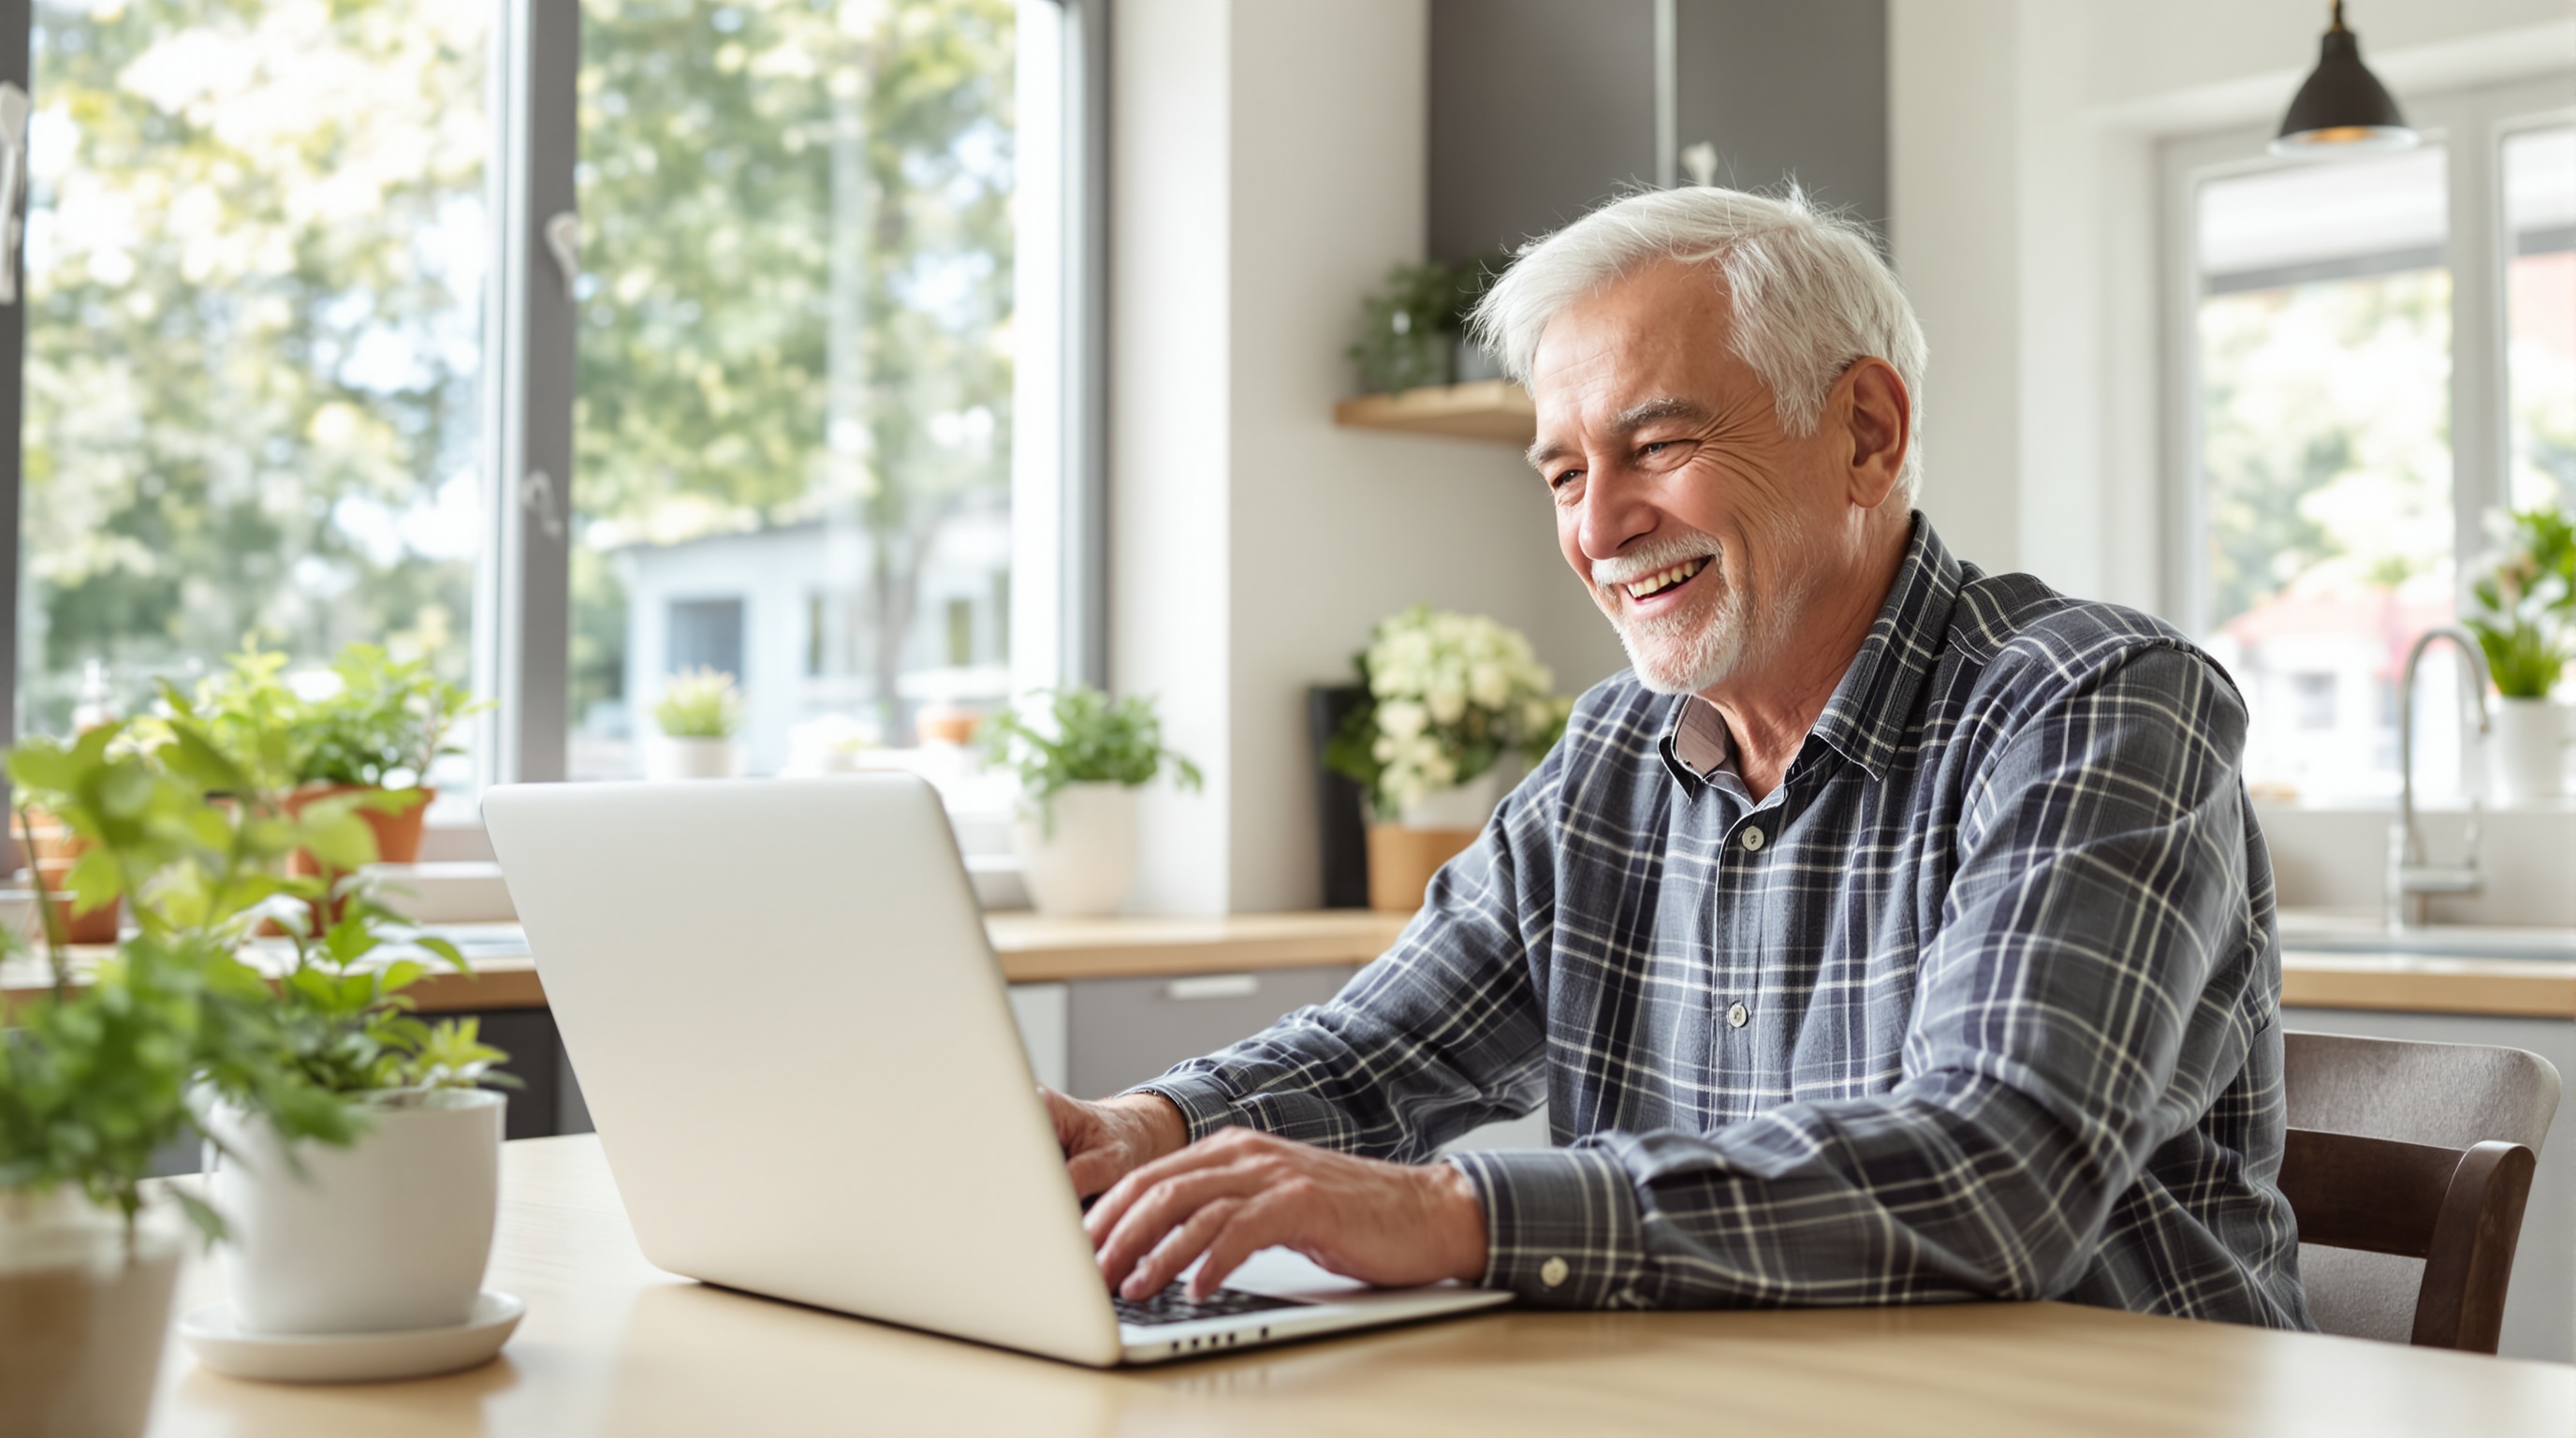
Why I Am Optimistic About Technology for Older Adults
A retired engineer makes the case that technology is getting better for seniors, not worse, and explains why the best is still ahead.